
#1 Plan Ahead
Planning ahead your DIY home painting project is the most important step you should take. You will virtually always get a better final result when planning ahead. Confucius said, “A man who does not plan long ahead will find trouble at his door.” Taking the time to plan intentionally gives you more time to think and make well-informed decisions. When planning your DIY home painting project, you should consider when are you going to paint, how long will it take, what tools to use, and most importantly, how much will be spent.
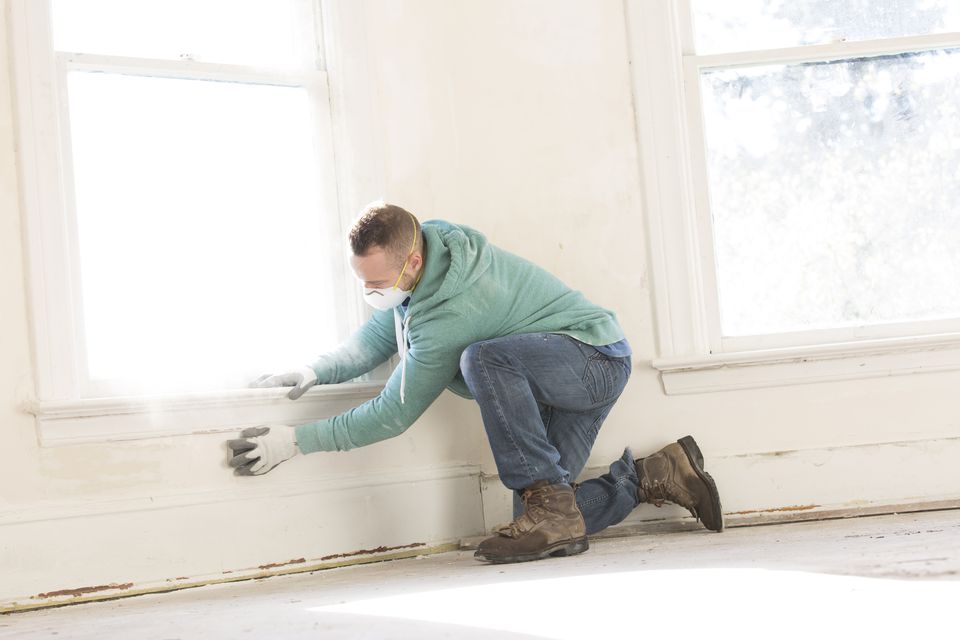
#2 Visual Inspection and Preparation
If you don’t do inspection and preparation, chances are, you’ll end up wasting your time and money. If you paint over dirty, oily surfaces, the paint will easily chip or peel off. Paint won’t adhere very well to dirty or rough surfaces, so be sure to clean the siding and trim thoroughly, allow to dry, and sand. Look for areas that need to be scraped or sanded before applying the paint like cracked, flaking or peeling areas. You can also give the walls a quick wipe-down with a damp cloth so that paint will have a clean, dust-free surface to stick to. Greasy areas may also need a bit of washing with soap, followed by a rinse with clean water.
#3 Wait For Dry Weather
Another tip for your DIY home painting project is to avoid painting on rainy days because humidity means drips and slow paint drying. Select a dry time of year when there are little rain and lower humidity. Paint needs time to dry and will not adhere to surfaces that are not dry.
#4 Quality over Price
Get high-quality paint, brushes, roller covers, and painter’s tape. High-quality paint means you will paint fewer times over the years, and you’ll get better coverage when you do paint. Good roller covers and brushes give wide coverage so that you don’t waste time and paint on re-application, and high-end painter’s tape is also beneficial when it comes to sealing out drips and blurs. Don’t be tempted to buy low-quality materials to save up some money. You might end up paying more in the long run.

#5 Box Your Paint
Paint color may vary slightly from one can to the next. Boxing your paints together eliminates the problem. Boxing your paint means combining all the paint into one large container and mixing it thoroughly. This way, your color will be consistent from beginning to end. Get someone to help you with a realistic estimate of how much paint you’ll really need so that you can buy it all at once instead of using one gallon at a time.
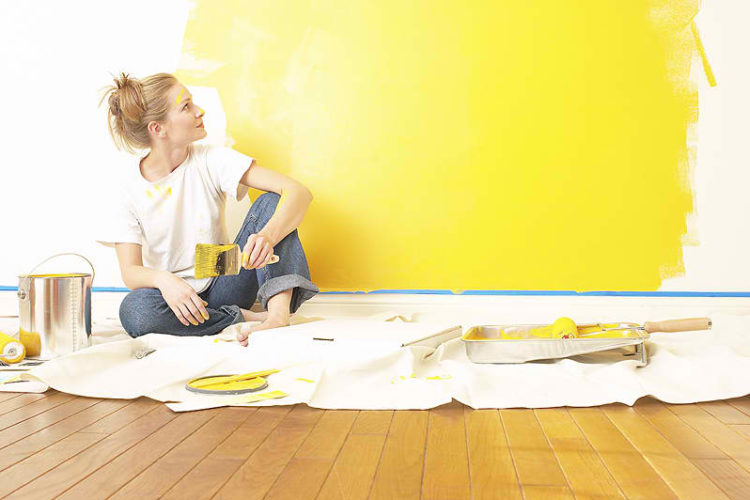
#6 Protect Everything You Don’t Want To Be Painted
You will never regret the time you spend covering furniture, hardware, and floors before you start your DIY home painting project. Drop cloths and small plastic bags secured with tape are an easy way to protect doorknobs. For painting the exterior of your home, be sure to cover the ground, bushes and any other vegetation below the area you are painting.

#7 Paint from Top to Bottom
Drips are inevitable. Painting from top to bottom will allow you to feather out mishaps in the direction you are working. Starting at the top and working your way down while painting also helps control streaks, as you will be working with gravity rather than against it.
#8 Avoid Lap Marks
Lap marks are those ugly stripes caused by uneven layers of paint buildup. They occur when you roll over paint that’s already partly dry. The key to avoiding lap marks is to maintain a “wet edge,” so each stroke of your roller overlaps the previous stroke before the paint can begin to dry.